The Ultimate Guide to Cleaning Your Motorcycle at Home
Keeping your motorcycle clean is about more than just looks. A regular cleaning routine protects the paint, prevents rust, and helps you spot potential issues before they become serious problems. Learning how to clean a motorcycle at home is a valuable skill for any rider, saving you money and giving you a deep sense of satisfaction. This comprehensive guide will walk you through every step, from gathering the right supplies to performing essential maintenance checks.
Gathering Your Motorcycle Cleaning Supplies
Before you get started, it’s crucial to have the right tools. Using household cleaners like dish soap or strong detergents can strip away protective wax and damage delicate finishes and rubber components. A proper motorcycle care kit ensures a safe and effective clean.
The Essential Motorcycle Cleaning Kit
- Two Buckets: The cornerstone of the two-bucket method. One holds your cleaning solution, and the other holds clean rinse water. This prevents dirt and grit from being rubbed back onto the paint.
- Quality Microfiber Wash Mitt: Soft, thick microfiber is ideal. It holds a lot of soap and creates a slick surface that glides over the paint, minimizing the risk of scratches.
- Car Wash Soap (pH Neutral): Specifically formulated for automotive finishes, it’s gentle yet effective at breaking down grime and road tar.
- Soft-Bristle Brushes: A large brush for the wheels, a medium brush for the frame, and a soft detailing brush for tight spots and emblems.
- Plastic Trim Restorer: A conditioner that brings life back to faded or dry plastic and vinyl parts.
- Clean, Absorbent Drying Towels: A large, plush microfiber drying towel and a smaller chamois for touch-ups are essential for preventing water spots.
- Optional but Recommended: A dedicated how to clean a laptop at home style screen cleaner for your visor, a chain cleaner, and a waterless wash spray for quick touch-ups.
Step-by-Step Cleaning Process
Follow this sequence for a thorough and professional-looking clean. Rushing or skipping steps can lead to scratches or missed areas.
Step 1: The Pre-Rinse
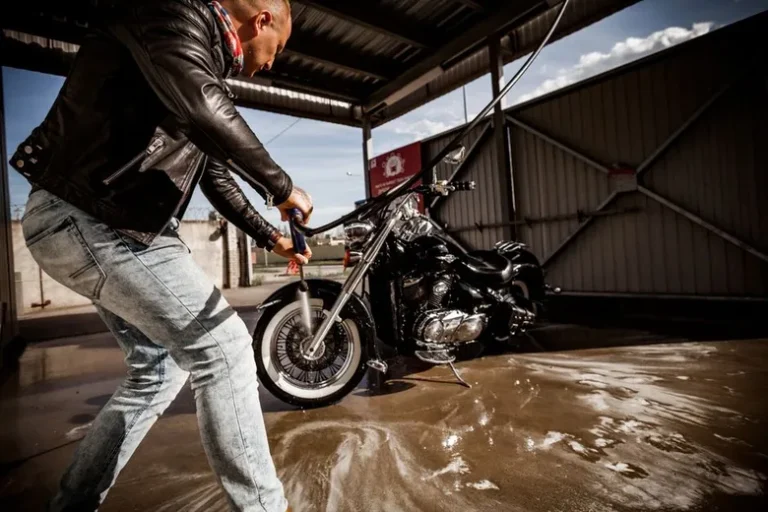
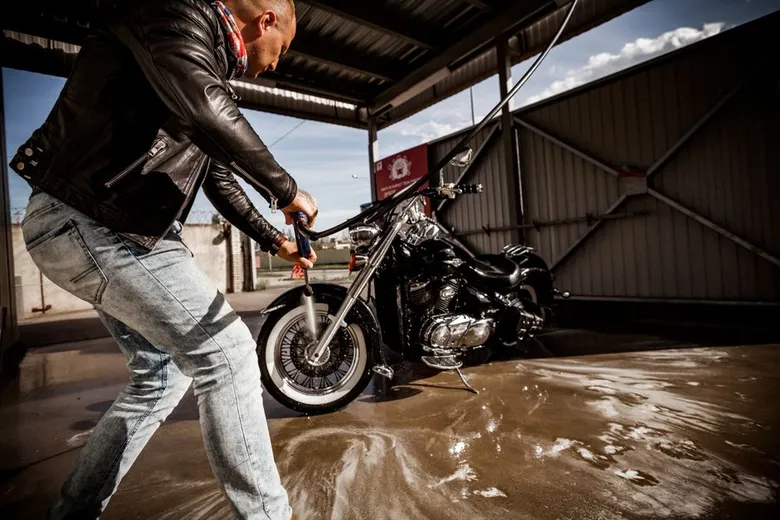
Start by thoroughly rinsing the motorcycle with a low-pressure setting of water. This removes loose dirt, mud, and debris that could scratch the paint during washing. Pay special attention to the wheels and undercarriage, where grime tends to accumulate.
Step 2: The Wheels and Tires
These are the dirtiest parts of the bike. Spray a dedicated wheel cleaner or your soapy solution onto the wheels and let it sit for a few minutes to break down brake dust. Use your wheel brush to scrub between the spokes and around the brake rotors. Clean the tires with a softer brush and rinse thoroughly.
Step 3: The Main Wash – The Two-Bucket Method
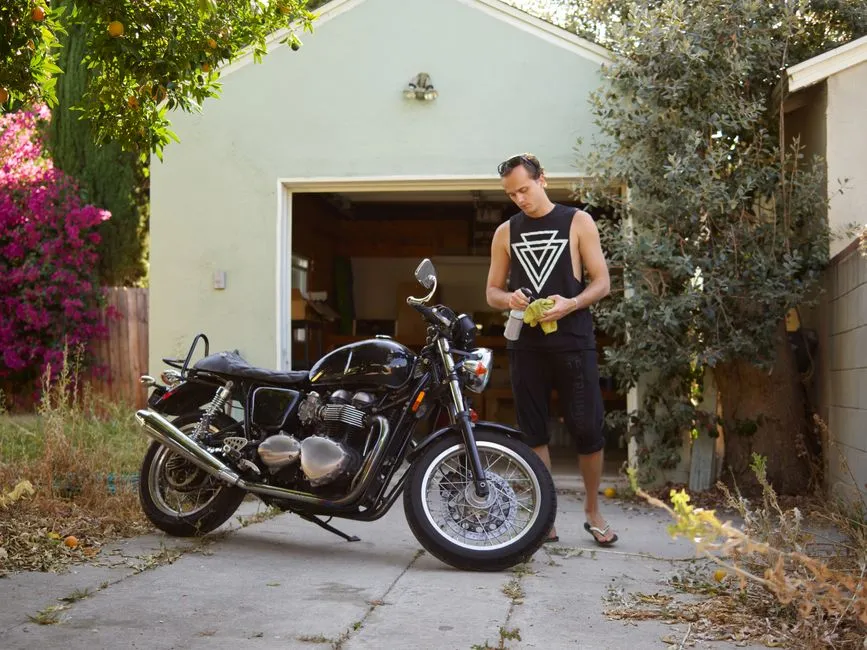
This is the most critical technique to avoid scratching your bike’s paint.
- Fill one bucket with clean water and the other with your car wash soap mixed according to the instructions.
- Dip your wash mitt into the soapy water, agitate it, and then wash a section of the motorcycle, starting from the top (fairings, tank) and working your way down.
- After each pass, rinse the mitt thoroughly in the clean water bucket to remove embedded dirt. Squeeze it out and re-dip into the soapy solution.
- Wash the motorcycle in sections, moving from clean to dirty areas. Never let the mitt touch the ground.
Step 4: Detailing and Touch-Ups
Use a soft brush to clean the air intakes, vents, and around the headlights. A detailing brush is perfect for cleaning the emblems and any crevices on the fairings. For the chain, use a chain brush and a chain cleaner solution, then rinse carefully to avoid getting water into the bearings.
Step 5: The Final Rinse
Give the motorcycle a final, gentle rinse to remove all traces of soap. Soap residue can leave streaks and attract more dirt.
Drying and the Finishing Touches
How you dry your motorcycle is just as important as how you wash it. Air drying can lead to hard water spots, and a rough towel can mar the finish.
The Drying Process
- First Pass: Use a large, absorbent microfiber drying towel to soak up the bulk of the water. Use a gentle blotting or lifting motion; never drag the towel across the paint.
- Second Pass: Use a clean, plush chamois or a second microfiber towel to remove any remaining water and add a streak-free shine. The chamois will pull any final droplets from the surface.
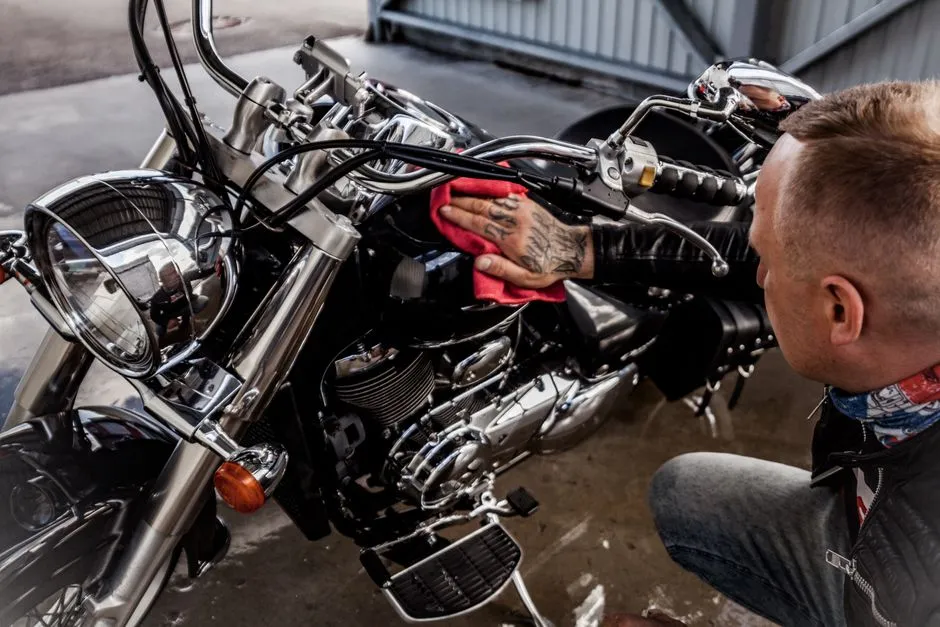
Waxing and Protection
Once the bike is completely cool and bone dry, it’s the perfect time to apply a coat of wax or a synthetic sealant. This adds a layer of protection against the elements, makes future cleaning easier, and gives your bike a deep, glossy finish. Apply the product according to its instructions, using a soft applicator pad and a microfiber towel for buffing.
Essential Post-Cleaning Maintenance
A full clean is the perfect opportunity to perform essential checks that keep your bike running smoothly and safely.
Check Fluid Levels
With the bike on its center stand, check the engine oil, coolant (for liquid-cooled bikes), and brake fluid. Top off any fluids that are below the recommended level. This is also a great time to check for any signs of leaks.
Inspect the Chain and Sprockets
Clean the chain and check its tension and lubrication. A properly adjusted and lubricated chain is critical for safe power transfer and to prevent premature wear. Refer to your owner’s manual for the correct tension and lube type.
Tire Inspection
Check the tire pressure with a reliable gauge, ensuring it matches the manufacturer’s specifications for both hot and cold conditions. Visually inspect the tires for cuts, cracks, or uneven wear. Also, verify that the wheel sprockets and axle nuts are secure.
Brake System Check
Inspect the brake pads for wear and check the brake fluid level. Look for any signs of fluid leakage on the wheels or calipers. The brake lines should be firm and free of cracks or leaks.
Frequently Asked Questions
How often should I clean my motorcycle?
It is recommended to give your motorcycle a thorough wash and wax at least once a month. More frequent cleaning is necessary if you ride in salty coastal areas, during winter months where roads are treated with salt, or after riding in muddy or dusty conditions. Regular cleaning prevents the buildup of corrosive substances.
Can I use a pressure washer on my motorcycle?
Use a pressure washer with extreme caution. A high-pressure stream can force water into bearings, seals, and electrical components, causing damage. If you must use one, keep the pressure low (under 1200 PSI) and hold the wand at least two feet away from the bike, always following the direction of the components.
What should I do if I get a rock chip in my paint?
Clean the area thoroughly to remove any debris. For small chips, touch-up paint pens designed for motorcycles can be effective. For larger chips or deep gouges, it is best to consult a professional to prevent rust from forming underneath the damaged area.
Is it okay to wash my motorcycle in direct sunlight?
No, you should never wash or wax your motorcycle in direct sunlight. The heat causes the soap and water to dry too quickly, leading to unsightly water spots and streaks. It can also cause soap residue to bake onto the paint, making it much harder to remove.