How to Charge a Motorcycle Battery at Home: A Complete Step-by-Step Guide
Riding with a dead battery is one of the most common frustrations for motorcycle owners, whether the bike sits unused for weeks or the lights were left on after a late-night ride. Instead of rushing to a repair shop or waiting for a jump from a stranger, learning how to charge motorcycle battery at home saves time, money, and hassle. With a few basic tools, some safety knowledge, and this guide, you can bring your battery back to life in under an hour. This comprehensive walkthrough covers everything from identifying your battery type to safe charging practices and long-term maintenance tips.
Understanding Your Motorcycle Battery
Before you connect a charger, it helps to know what kind of battery your motorcycle uses. The two most common types are lead-acid and lithium-ion, each with different charging needs.
Lead-Acid Batteries
Found on most standard, touring, and cruiser bikes, lead-acid batteries are affordable and reliable but require regular maintenance. They are sensitive to heat and overcharging, so using the correct charging profile is essential to maximize lifespan.
Lithium-Ion Batteries
Popular in sport bikes and modern motorcycles for their light weight and high cranking power, lithium-ion batteries charge faster and lose self-discharge over time. However, they require a charger specifically designed for lithium chemistry to avoid damaging the cells.
Safety First: Precautions Before You Start
Working with batteries involves risks, from chemical exposure to sparks that could ignite hydrogen gas. Following basic safety rules keeps you protected and prevents damage to your bike.
- Wear safety goggles and gloves to protect against acid splashes.
- Work in a well-ventilated area to disperse any gases.
- Turn the motorcycle off and remove the keys before connecting anything.
- Never smoke or use open flames near the battery.
- Check for corrosion on terminals and clean it before attaching clamps.
Tools and Equipment You Will Need
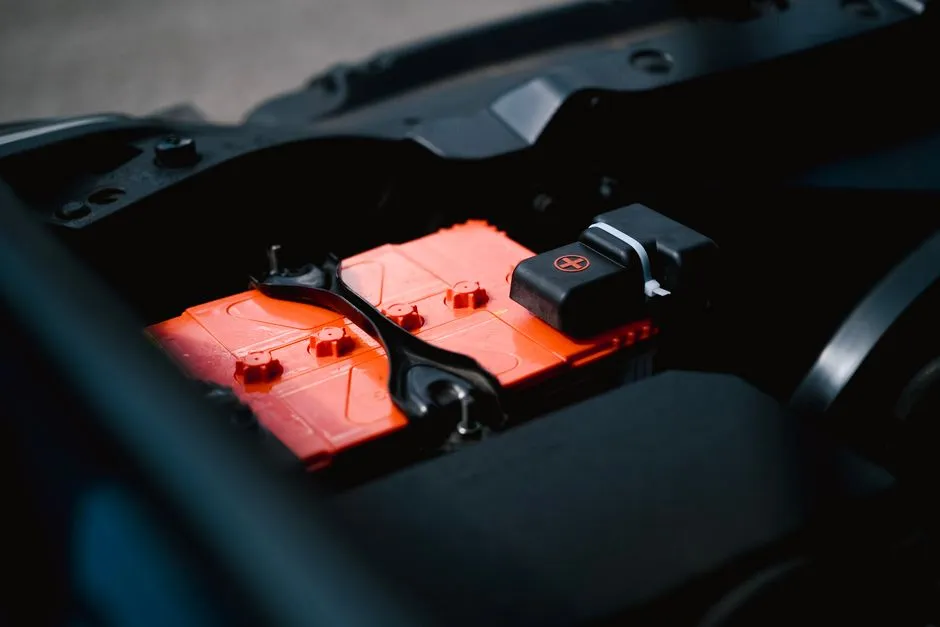
Gathering the right tools ahead of time makes the process smooth and efficient. Most riders can handle this with items already at home or easily found at an auto parts store.
- Battery charger or smart maintainer compatible with your battery type
- Multimeter for checking voltage before and after charging
- Insulated wrenches for terminal connections
- Cleaning brush and baking soda solution for terminal cleaning
- Protective gear: gloves and goggles
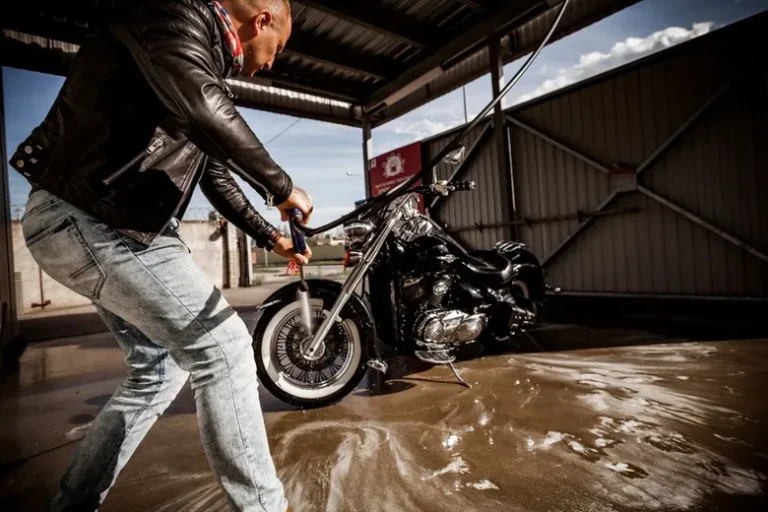
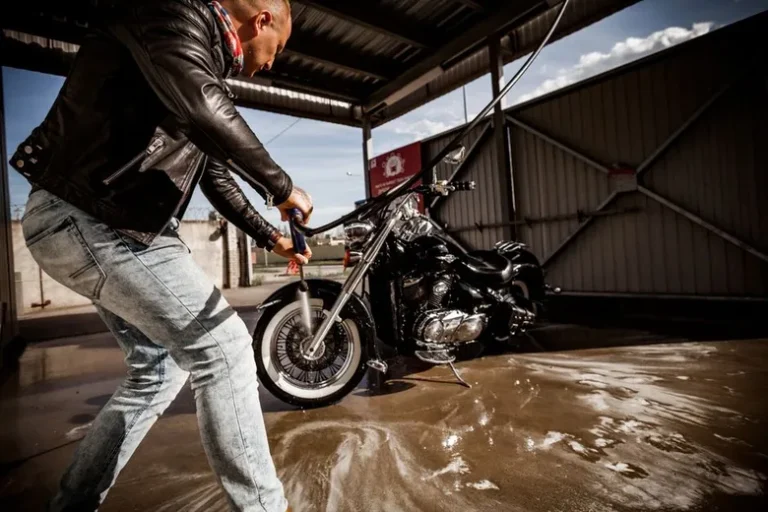
If you do not have a charger, consider using another vehicle for a jump start as a temporary fix, but this is not a substitute for proper charging. For guidance on routine care that reduces battery strain, you can explore the ultimate guide to cleaning your motorcycle at home, which covers battery maintenance and terminal care as part of a full service routine.
Step-by-Step: How to Charge Motorcycle Battery at Home
Follow these steps carefully to charge safely and effectively, whether you are using a smart charger or a manual unit.
1. Locate and Inspect the Battery
Open the battery box, usually under the seat or near the front forks. Look for any signs of damage, leaks, or excessive corrosion. If the battery is cracked or leaking, do not charge it; seek professional help or replace it.
2. Check the Voltage
Use a multimeter to measure the resting voltage. A fully charged 12-volt lead-acid battery reads around 12.6–12.8 volts. If it is below 12 volts, especially under 11 volts, the battery may be deeply discharged and require a slow charge to avoid damage.
3. Clean the Terminals
Remove any corrosion with a baking soda and water solution and a wire brush. Clean both the battery posts and the cable clamps. Dry the area thoroughly before proceeding.
4. Connect the Charger
Place the motorcycle on a stable surface and turn it off. Connect the charger according to polarity: red clamp to the positive terminal and black clamp to the negative terminal. For lithium batteries, ensure the charger is set to the correct chemistry.
5. Select the Right Charging Mode
Set the charger to the appropriate mode. For deeply discharged batteries, use a low-amperage or trickle charge. Smart chargers often have automatic modes that detect battery type and adjust current accordingly.
6. Begin Charging
Turn on the charger and monitor the initial current. You should see a steady but not excessively high amperage reading. If the current spikes or the charger shows an error, disconnect immediately and check connections.
7. Monitor the Process
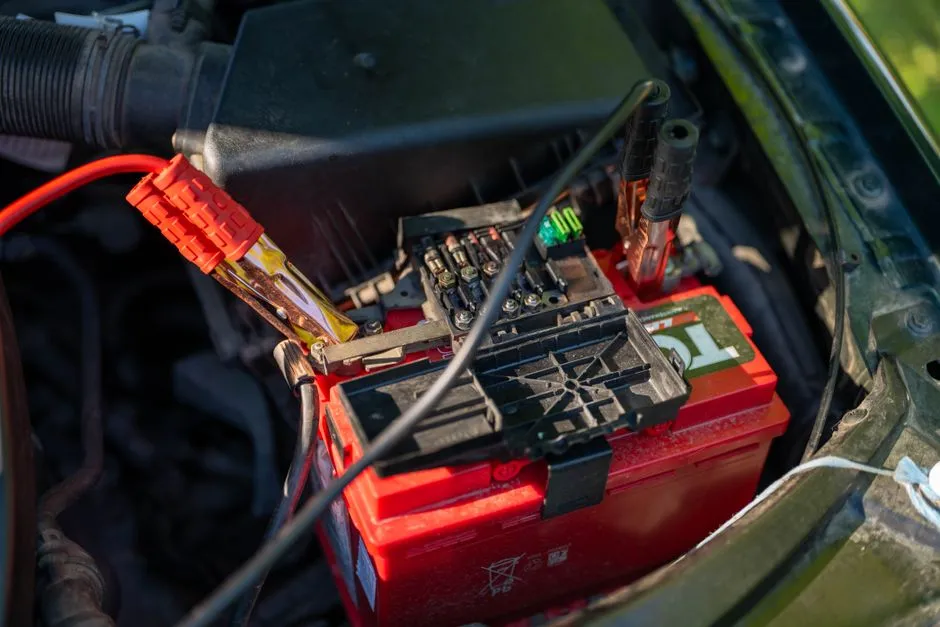
Do not leave the charger unattended. Periodically check temperature and smell. A warm battery is normal, but if it is hot to the touch, stop charging. Most lead-acid batteries take 2–6 hours to charge fully at 2–10 amps, while lithium batteries may take less time.
8. Disconnect and Test
Once the charger indicates full charge or the multimeter shows 12.6+ volts for lead-acid or the specified voltage for lithium, turn off the charger. Disconnect the clamps in reverse order: black first, then red. Reinstall the battery, start the motorcycle, and verify that the charging system is working by checking voltage with the multimeter while the engine runs.
Common Mistakes to Avoid
Even experienced riders can slip up when handling batteries. Avoiding these errors increases safety and battery life.
- Overcharging: Using high current on a full battery causes heat and gassing.
- Undercharging: Frequent partial charges lead to sulfation in lead-acid batteries.
- Ignoring charger settings: Using the wrong mode for lithium or AGM batteries can be dangerous.
- Skipping maintenance: Dirty terminals and low electrolyte levels reduce performance.
When to Seek Professional Help
While charging at home is convenient, some situations require a mechanic. If the battery swells, leaks, fails to hold a charge after charging, or if your motorcycle’s electrical system behaves erratically, consult a professional. Repeated deep discharges can signal a failing battery or an issue with the charging system that needs diagnosis.
Extending Battery Life and Maintenance Tips
A well-maintained battery lasts longer and starts reliably in all seasons. Simple habits go a long way in preventing unexpected failures.
- Use a smart charger or maintainer during periods of inactivity to prevent trickle discharge.
- Check electrolyte levels in flooded lead-acid batteries monthly and top up with distilled water.
- Keep terminals clean and greased to reduce resistance.
- Avoid short rides that do not give the battery time to recharge fully.
- Store the motorcycle in a cool, dry place and disconnect the battery during long storage.
For a complete overview of keeping your bike in top shape, including cleaning and storage tips, you might find how to clean a motorcycle at home the ultimate step-by-step guide helpful, as it includes battery care within a broader maintenance routine.
Frequently Asked Questions
Can I charge a motorcycle battery with a car charger?
Yes, you can use a car charger if it has adjustable current settings and supports the correct battery chemistry. Set the car charger to the lowest safe amperage for motorcycles, typically 2–4 amps, and monitor the process closely to avoid overcharging.
How long does it take to fully charge a motorcycle battery at home?
Charging time depends on battery capacity, discharge level, and charger output. A standard lead-acid battery may take 2–6 hours at 2–10 amps, while lithium batteries often charge in 1–3 hours. Using a smart charger with an automatic profile can simplify timing and ensure a full, safe charge.
Is it safe to leave a motorcycle battery on a charger overnight?
It is safe if you use a smart charger designed for motorcycle batteries with automatic float or maintenance mode. Basic manual chargers without cutoff can overcharge and damage the battery, so avoid unattended charging with non-automatic units.
What should I do if my motorcycle battery will not hold a charge after charging?
First, verify the charging process completed successfully by checking the final voltage. If the voltage drops quickly, the battery may be sulfated, aged, or have a hidden electrical drain. In such cases, testing with a multimeter or consulting a professional can identify whether replacement or further diagnostics is needed.