How to Clean a Motorcycle at Home: The Ultimate Step-by-Step Guide
Keeping your motorcycle clean is about more than just looks. A regular cleaning routine protects your paint, chrome, and frame from road grime, salt, and corrosive contaminants. It gives you a chance to inspect for damage, check tire pressure, and spot small issues before they become expensive repairs. This comprehensive guide will walk you through how to clean a motorcycle at home safely and effectively, with best practices for every surface and component.
Why Proper Motorcycle Cleaning Matters
Motorcycles are exposed to harsh elements: dirt, bugs, road salt, and UV rays. Without proper care, these can degrade finishes, cause rust, and shorten the life of parts. Regular cleaning removes these threats and preserves resale value. Beyond protection, a clean bike is more enjoyable to ride and reflects pride of ownership.
But cleaning a motorcycle isn’t as simple as hosing it down. Different materials—paint, chrome, rubber, leather, fabric—require specific products and techniques. Using the wrong cleaner can strip wax, damage decals, or cause unsightly staining. This guide emphasizes gentle, safe methods that deliver a showroom shine without risking your bike’s integrity.
Gather Your Tools and Supplies
Preparation is key. Assemble everything you need before you begin to avoid searching mid-clean. Here’s a solid list of tools and supplies for a thorough clean:
- Two buckets (one for soapy water, one for rinsing)
- High-quality automotive or motorcycle-specific soap
- Soft microfiber wash mitt or sponge
- Multiple clean microfiber drying towels
- Soft-bristle detailing brush (for wheels and crevices)
- Sponge or soft cloth for plastic and fairings
- Chrome polish and a soft cloth (if applicable)
- Water source with a gentle spray setting
- Absorbent towel or chamois for final drying
- Optional: tar remover, leather cleaner, and protectant
Choose pH-neutral, non-abrasive cleaners designed for automotive use. Avoid dish detergents or household cleaners—they may strip protective waxes and leave a dull finish. Also, work in a shaded area to prevent soap from drying on the surface, which can cause streaks and spots.
The Two-Bucket Method: Protecting Your Paint
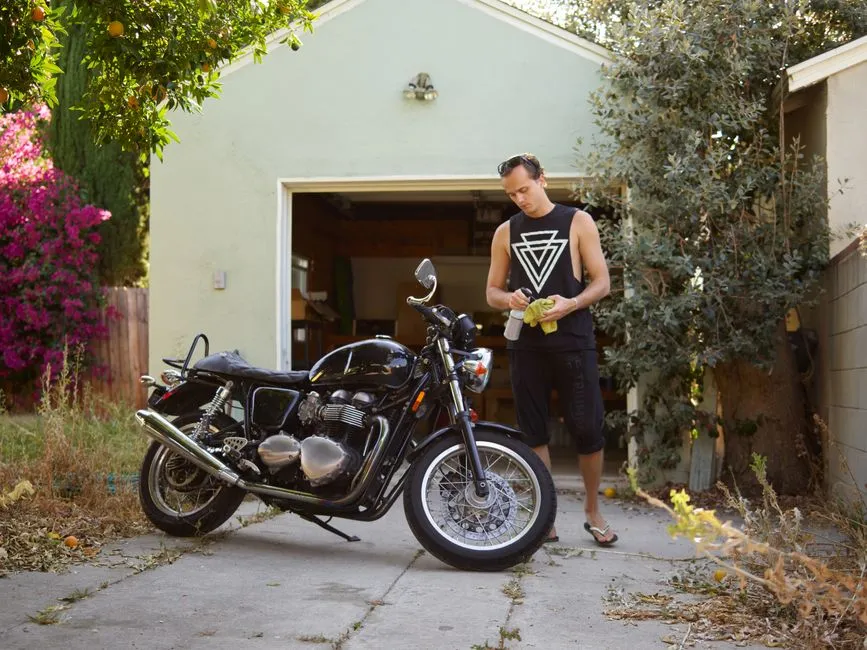
The two-bucket method is a simple but highly effective technique to prevent scratching. One bucket holds your soapy water and wash mitt, while the second contains clean water for rinsing the mitt. This keeps grit from being rubbed directly onto the paint. Add a grit guard to each bucket to trap sediment at the bottom.
Step-by-Step Cleaning Process
1. Pre-Rinse to Remove Loose Debris
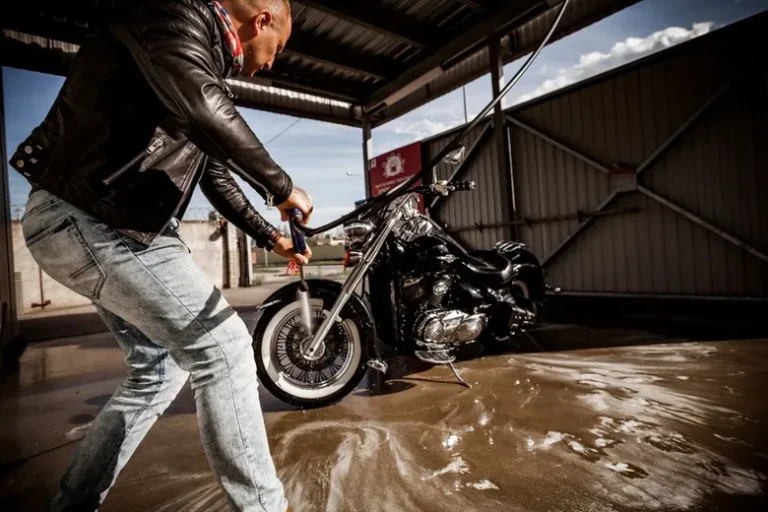
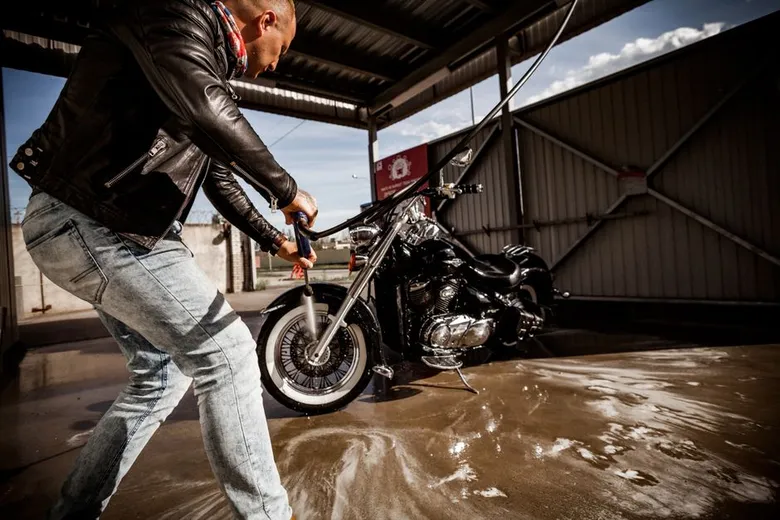
Start by rinsing the motorcycle with a gentle stream of water from top to bottom. This removes loose dirt, dust, and bugs without rubbing them into the surface. Focus on the wheels, undercarriage, and body panels. A pre-rinse minimizes the chance of scratching during the wash phase.
2. Clean the Wheels and Tires
Wheels are usually the dirtiest part of a motorcycle. Spray a wheel cleaner if needed, then use a soft-bristle brush dedicated only to wheels. Scrub between spokes and around the brake discs carefully. Rinse thoroughly and dry with a separate towel to avoid water spots.
3. Wash the Body and Fuel Tank
Dip your wash mitt into the soapy bucket and gently wipe the fairings, tank, and frame. Use light pressure and circular motions. Rinse the mitt frequently in the clean water bucket. Work from the top down so dirty water doesn’t drip onto areas you’ve already cleaned.
4. Handle Plastics and Sensitive Areas
Plastic and painted surfaces can be sensitive. Use a soft sponge or cloth with minimal pressure. Avoid aggressive scrubbing on decals and badges. If necessary, use a small amount of diluted soap on a cloth, then wipe clean immediately.
5. Clean the Chain and Drive Components
The chain requires special attention. Use a chain brush and soapy water to remove dirt and old lubricant. Avoid high-pressure washers directly on the chain seals. After cleaning, dry thoroughly and reapply lubricant according to your manufacturer’s recommendations.
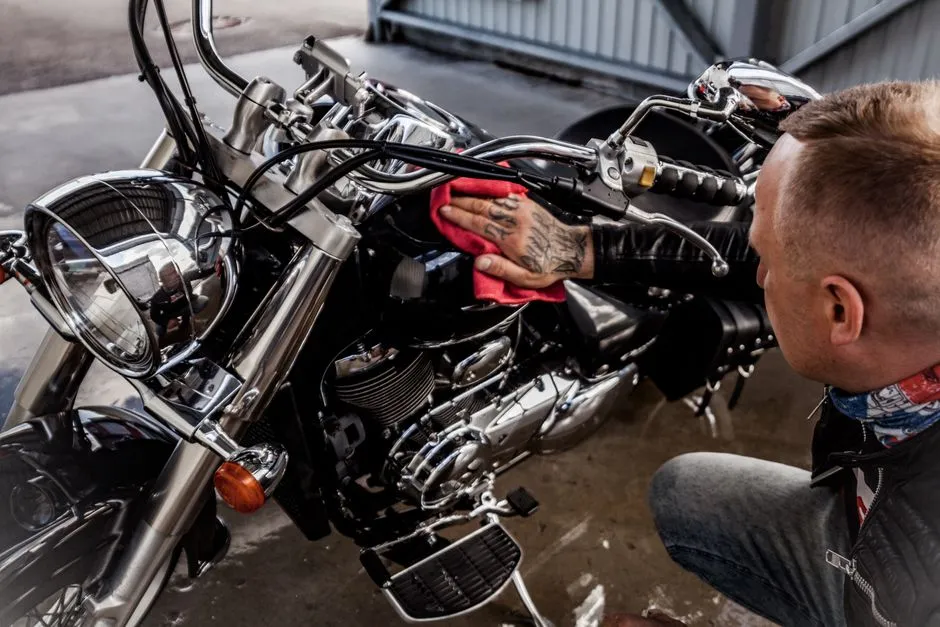
6. Rinse and Dry Completely
Rinse off all soap residue with clean water, again working from top to bottom. Use a hose with a gentle setting to avoid forcing water into bearings or seals. Immediately dry the motorcycle with clean microfiber towels or a soft chamois to prevent water spots, especially on polished chrome and painted surfaces.
7. Final Touches and Detailing
Once dry, inspect the bike for missed spots. Polish chrome with a dedicated polish and a soft cloth to restore shine. Apply a coat of quality wax or paint sealant to protect the finish. Clean the mirrors, turn signals, and any glass surfaces with a streak-free cleaner. Condition leather seats or grips if your bike has them.
Common Mistakes to Avoid
Even experienced riders can slip up when cleaning. Here are a few pitfalls to watch for:
- Using high-pressure washers too close to bearings, seals, or decals.
- Letting soap or cleaners dry on the surface before rinsing.
- Using the same towels for wheels and body, transferring dirt back.
- Skiring the chain or applying lubricant while it’s still wet.
- Ignoring the undercarriage where mud and debris can accumulate.
Avoid these, and you’ll protect your bike’s finish and mechanics while making each cleaning session faster and more effective.
Seasonal and Storage Cleaning Tips
If you store your motorcycle for winter or long periods, a deep clean is essential. Remove all fuel or stabilize it, clean the interior of the tank if possible, and apply a protective coating to prevent rust. Lubricate moving parts and cover the bike with a breathable cover in a dry, sheltered space. This preserves components and reduces the workload when you’re ready to ride again.
Frequently Asked Questions
How often should I clean my motorcycle?
Clean your motorcycle after every long ride or exposure to dirt, salt, or bugs. For regular use, aim for a thorough wash every two to four weeks, with a quick rinse after particularly dirty rides.
Can I use a pressure washer on my motorcycle?
Use a pressure washer cautiously. Keep the pressure low and avoid spraying directly at bearings, seals, or electrical components. A gentle rinse from a distance is safer than a high-pressure jet that can force water into sensitive areas.
What should I do if my motorcycle is exposed to road salt?
Rinse the bike as soon as possible with fresh water to remove salt. Clean and dry the undercarriage thoroughly, and consider applying a corrosion protectant to metal surfaces. Check for any signs of rust and address them promptly.
Is it necessary to wax my motorcycle after cleaning?
Waxing isn’t mandatory, but it’s highly recommended. A good wax or paint sealant protects the finish from UV damage, environmental contaminants, and makes future cleaning easier by providing a smooth, slick surface.